Description
h4.No Hands, No Problem - Mini-Animation
[Section=Hooo... there's a lot to talk about on this one. Buckle up bitches, this is gonna be a long one. Skip down to the line break at the bottom if you don't care.]
Where do I even start?
Well, probably "here":https://www.furaffinity.net/view/47927933/, where I had an idea for how to get a better look on the fur of my characters in blender, but wasn't sure how to implement it. As far as I could tell at the time, it simply wasn't possible. So I sent a call out to the community to see if anyone could help, and "Sentharn":https://www.furaffinity.net/user/sentharn stepped up to the plate, whipping up a little addon that allows for exactly what I wanted. That is, the ability to transfer the normals of a mesh to the normals of the hairs, allowing them to blend in dramatically better with the surface they're being emitted from.
But there was a problem.
The addon was... a bit glitchy. Actually, even though it solved my main problem, it introduced a lot of other problems. At one point I was actually typing up a guide on how to use it and how to avoid potential pitfalls, and the list of "you can't do this it'll break everything" rules got so long that I eventually just decided I shouldn't even bother, hah. Now, I have no doubts in my mind about Sen's coding skills, I'm sure he could have solved all the issues if he wanted to spend the time digging around in blender's code and learning how it all worked and fiddling around, but... he didn't. Nor should we expect him to! Dude's got his own projects he wants to work on, he didn't sign up to become my personal app developer, he just wanted to make something neat. It was a great proof of concept and let me experiment and learn about the style, but it was clear that long term it wasn't going to do the job.
So eventually I decided to try out this new "Geometry Nodes" thing blender had been developing to see if it could perhaps do the same job. It seemed like all the tools where there, I just had to learn how to use them. After a lot of fiddling around and experimentation and trial and error, and no small amount of help from Sen again, I eventually found a way to do it!
But there was a problem.
It didn't work on particle based hair. At all. For no reason I can see other than the developers just didn't bother to figure out how to get it working, hooking up attributes created by geometry nodes into the shaders of a particle system just results in corruption. Even when the same attribute is showing up elsewhere and working just fine there, completely breaks with particle hair. A little disheartening, but I've been keeping tabs on what the Blender devs are up to, and it looks like they're finally picking up the pace on the new hair system they've been planning for like, nearly a decade. After more experimenting and fiddling around, we find a way to get the normal transfer working with the new hair system, and lo and behold, it actually works! So I start experimenting with the few tools this new hair system does provide. It's obviously an early product and missing a ton of features... you can just about hack something together if you really know what you're doing, but I did not, in fact I found it to be a little too unusable to make new hair systems from the ground up with it. I set that idea aside for the time being, but did eventually discover that there's a way to convert existing particle systems into curve-based systems. Ah ha! We might be onto something with this one... so more experimenting and fiddling around, and eventually I got something working, which results in "this!":https://www.furaffinity.net/view/50859420/ The concept is fully proved at this point, and geometry nodes will be able to do the job!
But there was a problem.
Curves-based hair systems are just too new, all the tools aren't there yet. And one of them was a showstopper; physics. With short fur you really don't need it, you can leave the fur stiff and it really doesn't look out of place, but once it gets passed a certain length, you really can't ignore it anymore. Long fur needs to be able to flow with movement and bump into objects and bend and compress when touched. Without physics, you can't really have your characters touch of interact with anything, at least not without avoiding anything getting near the long areas of fur, which is just impractical. So I waited, and kept an eye on the blender development, and occasionally do some google-based research to see if anyone has any solutions to the problem of the lack of hair physics. And eventually, I actually do find out that there's a hacky way to introduce physics to the new system, by getting the hairs to copy the motion of a proxy object that has a cloth sim on it. Great! That should do the trick!
But there was a problem.
To go into a bit more detail, the hacky physics method involves using geometry nodes to create a mesh object that exactly matches your hair system point for point, and then once that's made, turn around and tell your curves based hair to match the movement of that mesh object point for point, and then just slap a physics system on the mesh object. Bam, physics! The issue is that the only method I found usable for creating hair with the curve system was to convert a particle system directly into curves, which gives you every single hair as a unique curves. This means easily multiple tens of thousands of points in your mesh object. And because the mesh object is created as a simple line of vertices, you actually have to extrude it out to create faces, meaning -double- that. Even a relatively small particle system would turn into such a massive mesh object as to be nearly unusable. Physics were simply too slow. Baking a single physics object with this method would take hours for a longer animation, and you need one of these for every single fur object you plan to have physics on. It was a no go. But, I hear about some new tools coming out in a near future update that might just allow for this to work perfectly, some tools for duplicating and interpolating hairs. This would allow one "physics" hair to control hundreds of "curve" hairs, drastically reducing the number of verts needed in the physics objects and making them usable for simulation. Great! That should work!
But there was a problem.
We're getting near the present day now. I have a little downtime while waiting for replies on a commission, so I decide on a whim to start fiddling around with the new tools to see if they can do the job. Turns out they work great- until the second you start actually moving your model around. As luck wouldn't have it, the new tools aren't really being made with animation in mind yet, they're starting with simpler methods as they work stuff out. You can actually get some of the options to work with animation sorta, if you set them up just right, but the second you attach the physics hack to these methods it just falls entirely apart. Completely unusable.
Sigh.
A sane person might just have set the idea aside for now at this point, but relying on an unstable proof-of-concept addon for my entire art style in blender is not sitting well with me, so fuelled by a combination of probably having some form of ADHD, having too much time on my hands, and having a burning desire to fix this problem, I come up with a basic plan for how to potentially solve this problem, I hyper-fixate on it for several days... and eventually find a way to do it.
So, here was the problem.
As far as I could see, there were two new methods of creating "child" hairs with the new tools, one interpolating between existing guide hairs, and one simply duplicating hairs and spreading them out a bit. The first methods recalculates the interpolation every frame as things move around, which causes mad flickering and hairs jump around randomly. The second doesn't have this problem, but since the hairs as simple duplicates of a main hair, following it's motion exactly, the child hairs tend to slide and float around as the mesh moves underneath them. Both entirely unusable.
The solution I envisioned was, (shit's gonna get technical here) instead of using 3D space to calculate the spread of child hairs, I would use UV space! UV's are always firmly rooted to their position on the surface (That's kinda what UV's are, they're the 2D representation of the 3D surface of a mesh) and so if I calculate offsets that way, the hairs should be perfectly attached to the surface of the mesh, and should stay in place as the model moves around. Visualizing how to solve the problem was easy... figuring out how to tell geometry nodes that I want it to happen was hard. It took me aaages of fucking around. But I eventually started to pick up on the language of geometry nodes and after watching lots of tutorials and tons of messing around, I figured out all the steps. I collapse the curves down to their root position, convert those positions into UV space on the object they're connected to, scatter the points randomly in every direction from that root point, re-convert the now scattered points from UV space back into 3D space, calculate the offsets, reset the hairs back to their initial positions, and finally move the hairs by the calculated offsets. After implementing some checks to prevent hairs from moving if they fall into the space between UVs, or move so far that they land on an unrelated UV island and pop up in some random other place on the body... it just sorta worked.
I had a method in place, now I just needed a model to test it out on. I could have used an existing one, but where's the fun in that? So I hit up the Patreons and took suggestions. Got a lot of good ideas, but someone suggested a bat, and something about that idea just jumped out at me, hard... and then when I remember I actually kind of have an existing bat character, and that people liked her, and that I actually did too, well... there was no going back at that point.
So, I built the bat, and then got to work adding the fur to her using my new system. Honestly it's not really necessary to use my system for every single hair system, you really only need it for systems that require the hacky faked hair physics, but to give it a good 'n proper test I used it for all the hair systems, and it worked out pretty brilliantly. I am quite pleased with how usable the final result is.
As you can probably tell from all the times I said "But there was a problem" up above, this has been a very long and arduous road. This has been a point of frustration for me for ages, but to finally have it fixed- at least, it appears to be fixed so far- feels pretty god damn good.
I wanna fiddle with the system some more and iron out the kinks, but I'll likely release it at some point and try to whip up a quick guide on how to do this for anyone who's interested.[/Section]
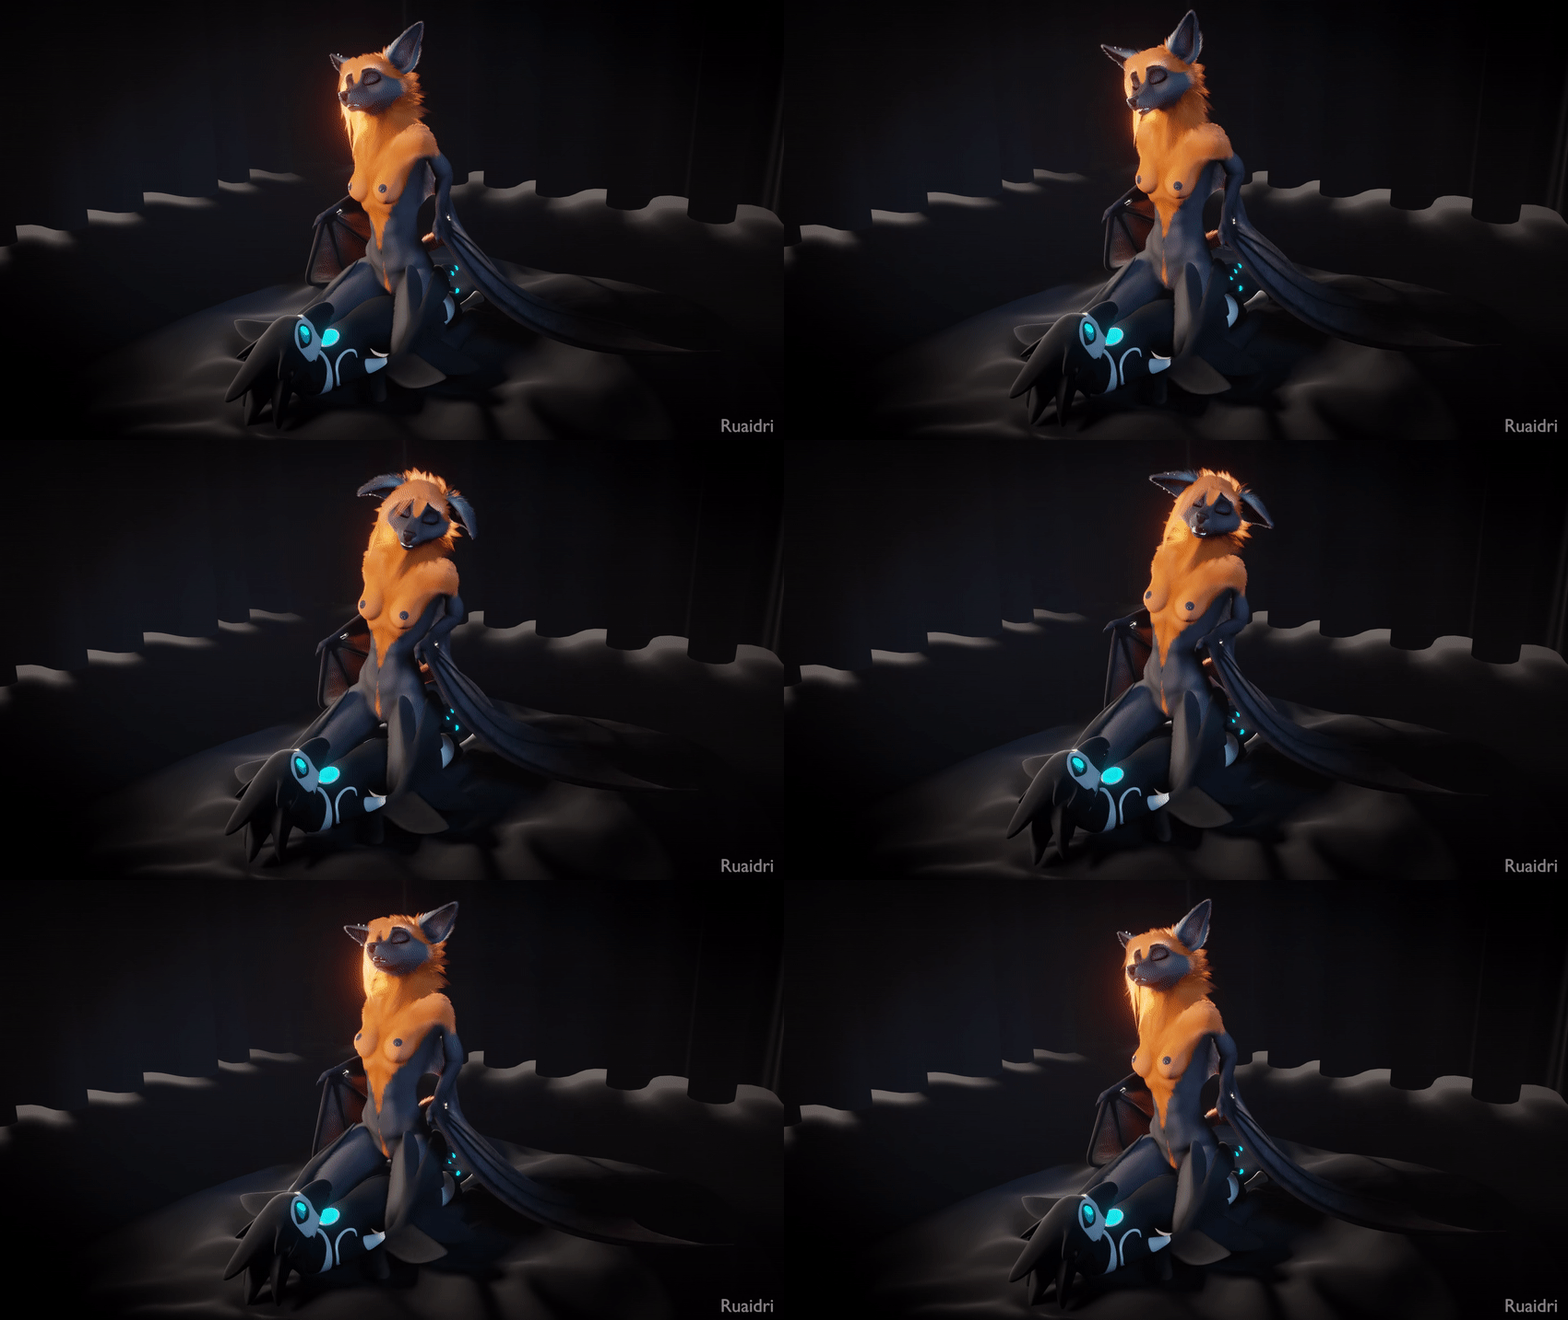
So anyway, that's why I made a bat. Needed to test out the new stuff. And that's why I made this little animation- to test out the physics on the new stuff. Figured having her riding on top of someone would be a good way to get those hairs bouncing around and see how they look. I could have spent more time fiddling with the simulation numbers, but the idea was to see if it worked, not worry about getting it perfect. This is just a quickie to test stuff out, thus the blacked out fuck-room again. I decided putting her on top of burdbot would be fun... literally for no reason other than they're the two models I've got that don't have proper hands, and that struck me as funny for some reason? I'm not sure why. But also the burdbot is cute and fun to work with so here we are.
The bat's name is currently a work in progress, I'll likely toss up a quick proper ref-sheet as soon as we've got one. In the meantime... I hope you like her in all her stupid bouncy-fluffed arm-winged glory. :P
- Rating
- E
- Score
- 2342
- Favorites
- 3622
- Comments
- 26
- Uploader
- Acron
- File
- jpg 455x256
- Duration
- 4.000s